Inside the Gateway Profile 3 All-in-One PC
|
17 December 2008 |
The Gateway Profile 3 All-in-One PC is a very handy computer: P3 CPU, 384MB RAM, DVD drive, 20GB Hard drive, 15 inch LCD all in one package. You can find the full specs at Gateway's support site. Memory can be upgrade to 512MB without opening the case - there is a little hatch at the back that easily releases, revealing two SDRAM sockets. But if you want to upgrade the hard drive or examine the fans, then you must open the case.
First, place the profile 3 LCD down on a soft, flat surface. For instance, put a towel on top of your work table.
Remove the six screws at the back of the computer. Two each on each side and the bottom. By the way, you can click on any image for a high resolution copy.
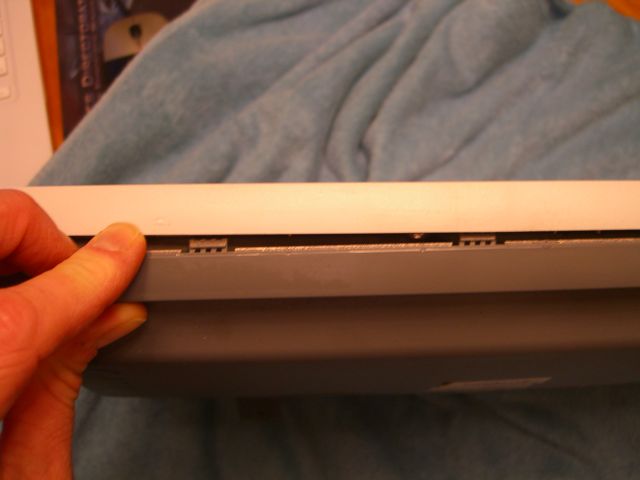
Detach the six engagement points which hold the back of the case onto the computer. There are four engagement points along the top edge and one on each side.
Gently lift the back case. First lift the side with the USB connectors and DVD drive, then lift the other side.
Now that you have the computer open, you can remove and clean the heat sink. You can also upgrade the hard drive. I moved the cabling to have a closer look at the mini-PCI card.
Notice the mini-PCI card at the centre of the PC. This could be upgraded to wireless, if desired. Also notice the two 40 pin IDE connectors. In fact, only one (the lower one) is an IDE connector the upper one is the socket for the IO Connector Module. The black "IDE cable" is not an IDE cable - it is the IO Connector module cable. Notice how the black connector has one of its pins blocked off? That prevents it from being accidentally plugged into the real IDE socket.
My interest is reducing computer noise. The profile 3 contains three noise sources:
The fans are programmed to turn off when the not required. I always improve the passive cooling of my machines, and therefore reduce the need for a fan, by cleaning the CPU heat sink. IMO the worst noise source in this machine is the Western Digital hard drive. It makes a very annoying persistent whining sound. To remove the hard drive first remove the IO Connector module by unscrewing the three screws and lifting the module. Then you can unplug the hard drive cables, remove the four hard drive screws and extract the drive.
Another problem I had with this machine is that it lacks the connectors for a VESA wall mount. Fortunately a friend of mine has a machine shop (Machine Werx, Owen Sound Ontario) and he put together this sweet little wall mount.
TADA! One wall mounted Profile 3!
Andrew Howlett, 17 Dec 2008